As a WordPress user, the first and most important thing everyone looks for is the speed of their website. When we talk about speed, you must know about the GeneratePress WordPress Theme, which is always in the top 5 fastest WordPress themes in any discussion.
Let’s start the step-by-step tutorial for its installation and how to activate GP Premium to make your website lightweight and dynamically amazing.
Connect Name Cheap Domain With Any Other Hosting
Launching a WordPress site is straightforward when you have two essentials: a domain and a hosting plan. In this guide, we’ll show you exactly how to connect your Namecheap domain with any third-party hosting provider, then walk you through a fresh WordPress installation, followed by the GeneratePress theme setup. We’ll also cover how to activate GP Premium to unlock powerful design controls, starter site templates, and performance-focused options.
We’ll start by pointing your Namecheap domain to your chosen hosting via nameservers, ensuring your website resolves correctly and securely. Next, you’ll install WordPress the right way for a fast, SEO-friendly foundation. Finally, we’ll install the lightweight GeneratePress theme and activate GP Premium so you can customize your site’s layout, typography, and colors with confidence—without sacrificing speed.
Don’t have a domain or hosting yet?
No problem. You can purchase both directly from Namecheap. Just follow the information provided below to register your domain, choose a hosting plan, and then return to this guide to complete the connection, WordPress setup, and GeneratePress configuration. This step-by-step process is beginner-friendly, performance-focused, and designed to get your site live quickly.

First, we’ll connect your Namecheap domain to a different hosting provider—follow this step-by-step build. We’ll point DNS using nameservers , wait for propagation, and verify everything is resolving correctly before moving on.
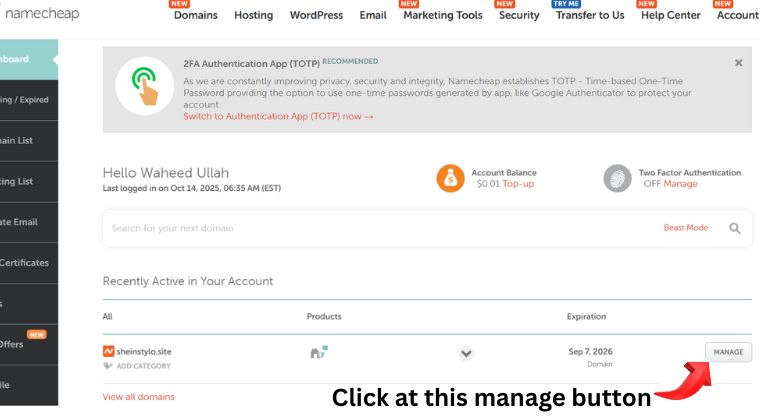
Step 1. Login To your Namecheap account.
Step 2. After login go to the dashboard where your domain will show and click on manage button at the right hand side of your domain that which you want to connect with other company’s hosting. For help follow the images which are mentioned below.
Step 3. When you click on manage button as showing in above page you will go to the next page as mentioned below image, where you need to put nameservers which will your hosting company provide you. Follow the steps mentioned in the below image.
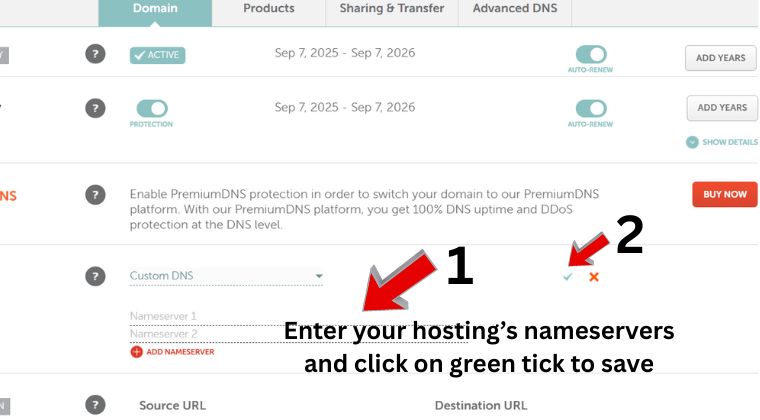
Now you need to wait for at least 10 to 15 minutes, usually the estimated time given by hosting providers is 24 hours to 48 hours.
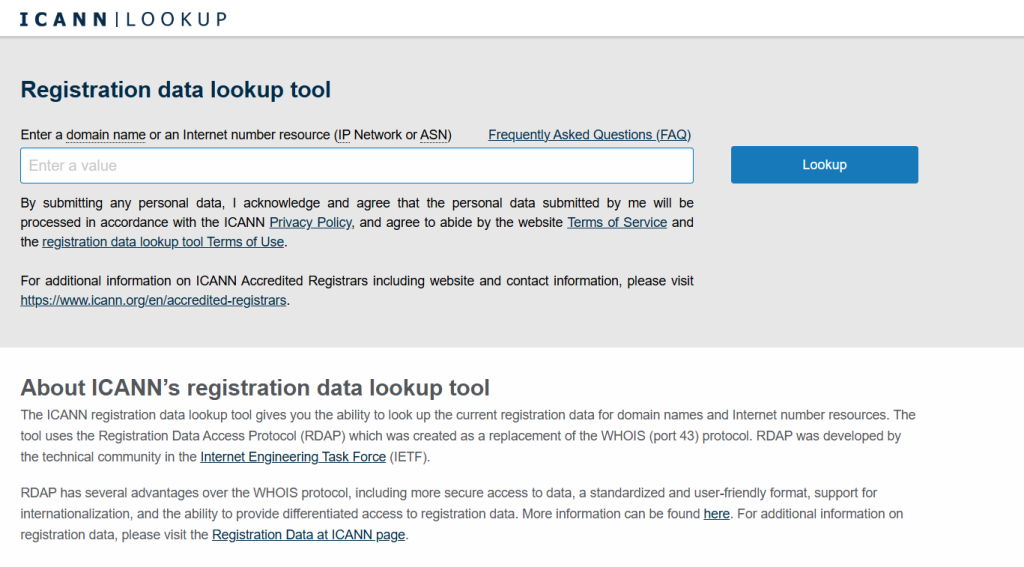
Step 4. When you complete the above 3 steps now you have to check and confirm that NAMESERVERS are updated or not. You can check by different ways the best way to confirm is whois lookup “lookup.icann.org”. open this website and enter you domain without “www” or “https” and press lookup button then you will the your domain’s dns record which will confirm that you have successfully updated the nameservers.
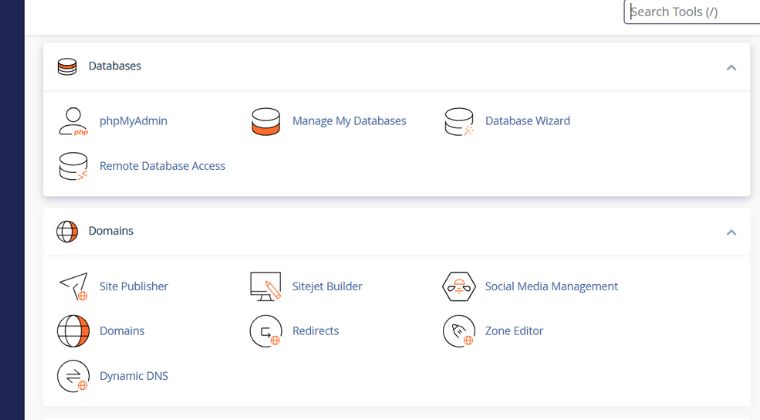
Step 5. The most important and worthy step is to add your namcheap domain in your hosting account. Mostly hosting companies provide the same kind of cPanel where you need to find domain section option and add your domain name.
One Click WordPress Installation Guide
The installation of WordPress is very easy in shared hosting usually they provide one click installation option as you can see in the image below. In your cPanel under the software section you can see direct wordpress manager for installation or you can use softacluous apps installer.
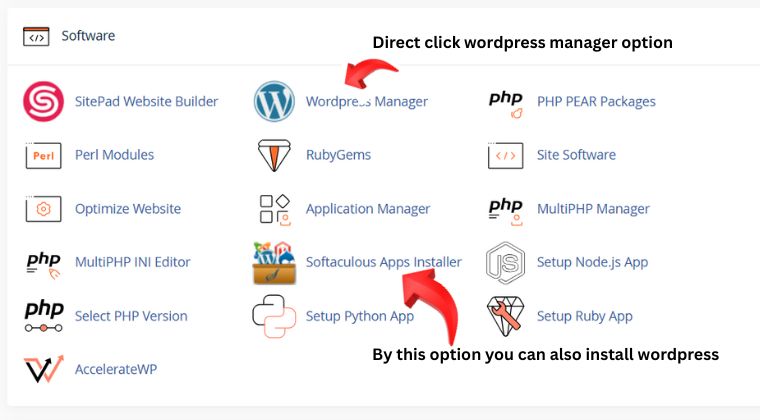
I have Choose the Softculous Apps Installer. When you click on it the next page will show with multiple available softwares for different kind of websites you can select according to your need as i am talking about wordpress so i will choose wordpress from the list.
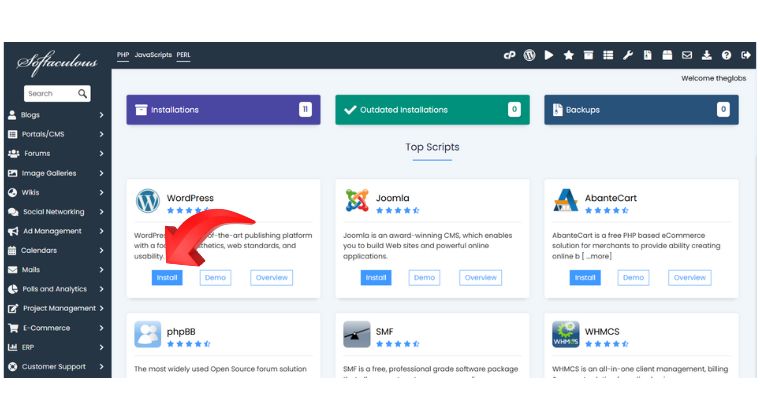
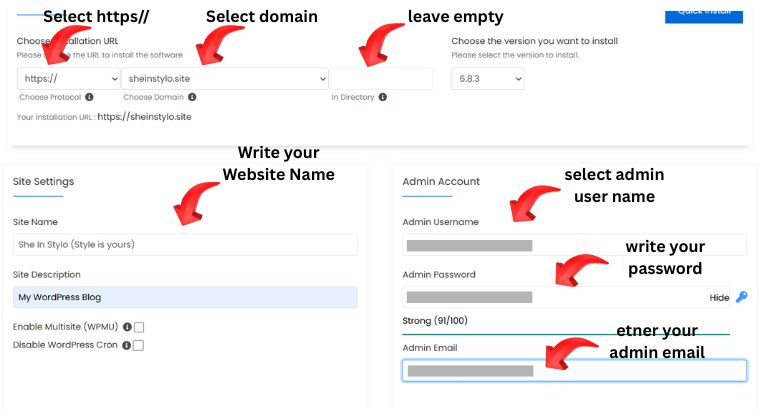
When you click on install button as you can see in the above image then the next page will show like the below image and there you need to add your required detail and in the end click on install button.
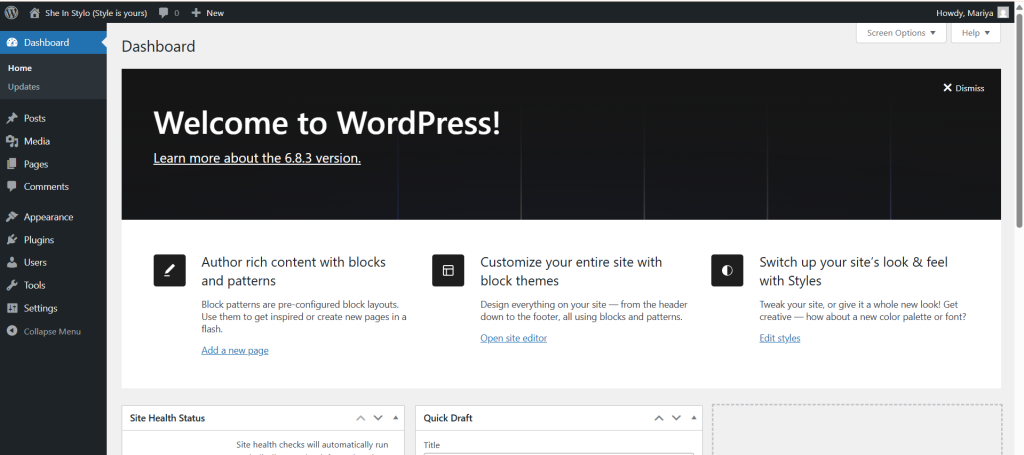
After the successful wordpress installation you will get admin access buy opening the ur0l ” www.yourdomain.com/wp-admin ” at this url you will add your user name and password which you enter at the time of wordpress installation.

Now you need to enter your user name and password to login your wordpress website admin dashboard. When you enter your login cradentials you will redirect to your admin dashboard. The admin dashboard layout is same as showing in the below image.