To insert GeneratePress starter site templates, you first need to log in to your WordPress admin dashboard. Once logged in, navigate to the left-hand side menu and hover your cursor over Appearance. A submenu will appear—within it, you’ll see the GeneratePress option. Click on it, as shown in the image below.
If you’re completely new to WordPress and don’t know how to install or change a theme, click here to learn more
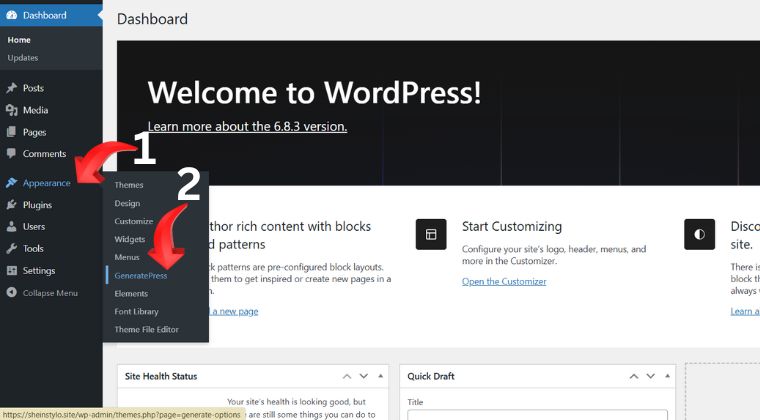
After following the steps shown in the image above, you’ll be directed to the GeneratePress Dashboard, as illustrated in the images below.
Once you’re on the dashboard, make sure to verify that the “Site Library” module is activated. If this module is not active, you won’t be able to see the Site Library option.

After confirming that it’s enabled, click on “Site Library.” The next page will appear similar to the one shown in the image below.
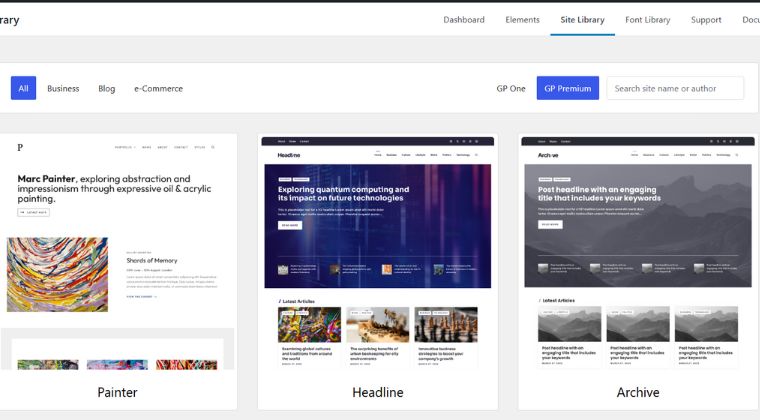
When you click on the Site Library, you’ll see a layout similar to the one shown in the image above.
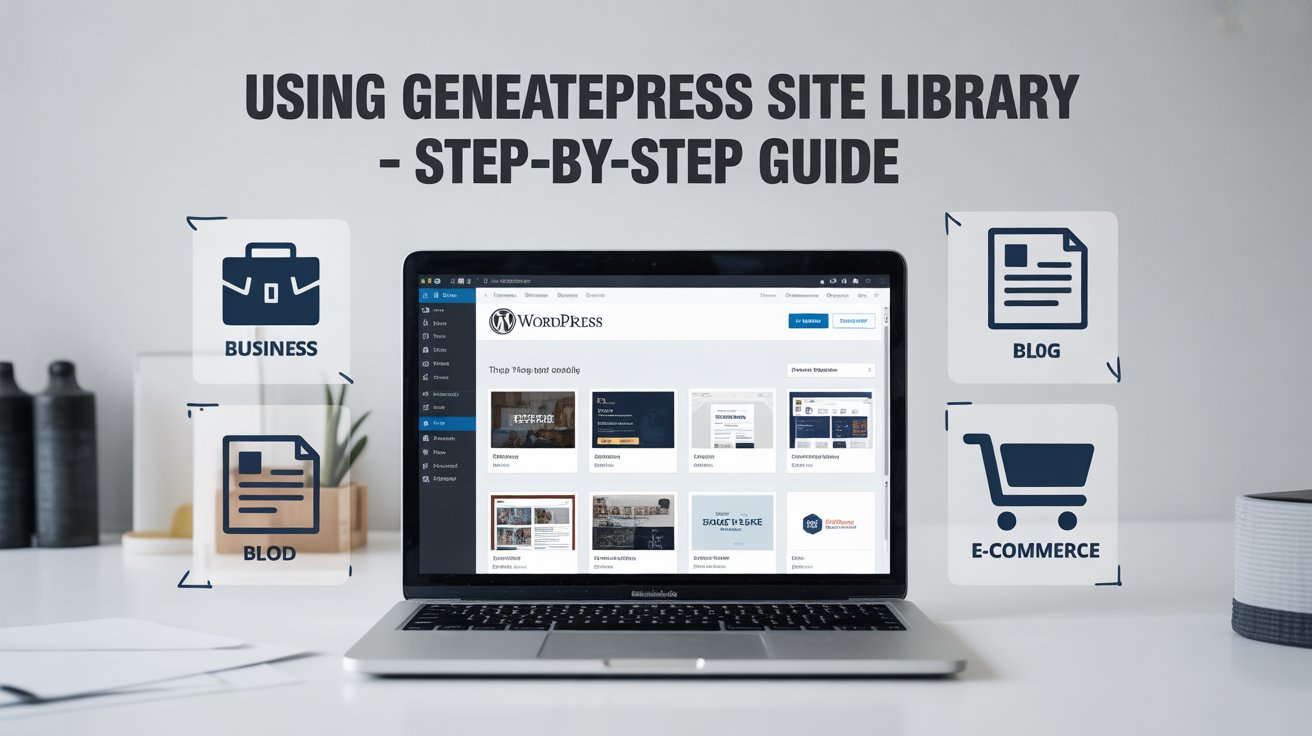
Inside the GeneratePress Site Library, you’ll find three categories of premium templates — Business, Blog, and Ecommerce. Simply select the category that matches the type of website you want to create. Once selected, only templates from that category will be displayed.
If you want to view all available templates at once, click on the “All” button to display templates from all three categories together.
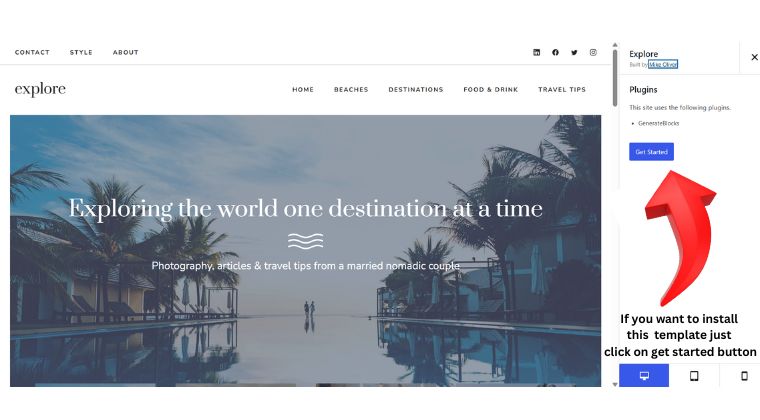
Once you’ve found a template you like, click on it to open and preview it. You can explore each template one by one to see its live demo view, as shown in the image above.
When you click on a template, it will open in a demo preview page, similar to the example shown earlier. On the right-hand side, you’ll see a blue “Get Started” button.
If you’re satisfied with the design, simply click on “Get Started” and follow the on-screen instructions. GeneratePress will automatically import your selected template from the Site Library, and within a few moments, it will be ready to use on your WordPress website.